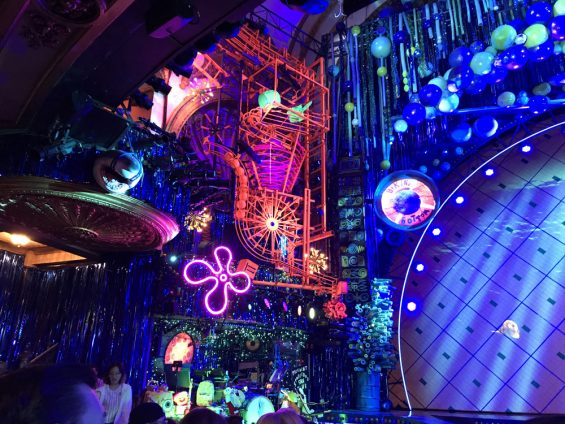
Our girl is 7! Her birthday was last Friday the 15th, and we had two full days of celebrating. Everyone here is still recovering, and I’m getting over a bug that left me with a fever upwards of 103 last night. Friday morning we were at school for her class’s birthday circle, then we left school for a day at Ikea (she asked for a new desk for her birthday) and Emerald City ComicCon. Saturday morning was her Wild Kratts-themed birthday party, and Saturday night we went to Monster Jam.
Tag: parties
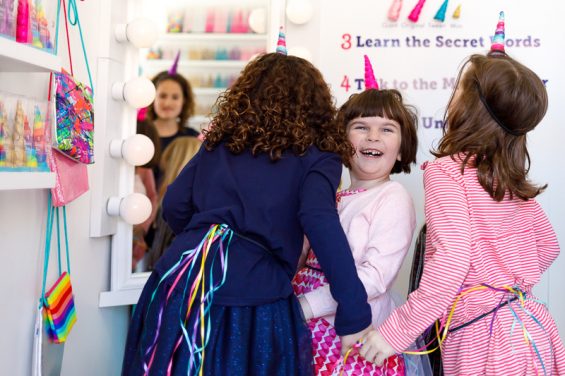
This was, by a mile, the best birthday party H has ever had. Four of her friends and their moms met us in Brooklyn at Brooklyn Owl, a unicorn horn store, for a day out in NYC. The moms went for coffee, and Adam and I stayed to take photos of the girls picking out their own special unicorn horns, making unicorn crafts, eating unicorn cupcakes, and solving clues for the store’s magic mirror, which spoke to them and transformed them from little girls into magical unicorns. We could not have packed more unicorns in if we tried, it was fabulous.
I turned 39 last Saturday! It’s been a week since then, and more than two weeks since I’ve blogged, and it’s been busy and eventful and so much has been going on. So I desperately need to catch up here.
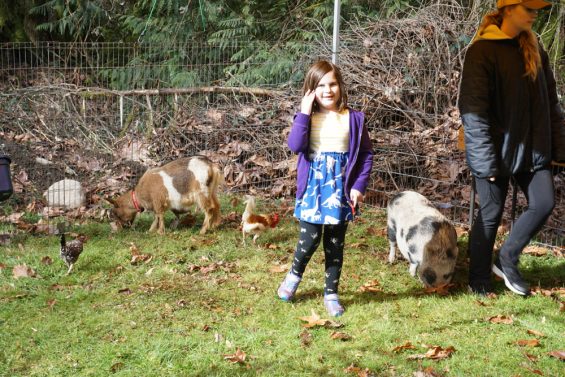
Adam was actually in Texas for work on his birthday, but when he got home from that trip we had a weekend picnic at one of our local parks. We actually learned as we were leaving that Hamilton was not supposed to be in that park, but we didn’t see the signs. We’re still learning this whole dog ownership thing, but he had the most amazing afternoon out with us as well.

Today’s the day! HFR is 5 years old today. I’m going to get the typical parent cliche out of the way here first by announcing I can’t believe she’s five, it feels like just yesterday when she was born, where does the time go, etc. These are all true statements that run through my head on a regular basis, and at every birthday she’s ever had.