 Other posts on this project: My Next Quilting Project, Circle Quilt Pt. 1, Circle Quilt Pt. 2, Circle Quilt Pt. 3, Circle Quilt Pt. 4.
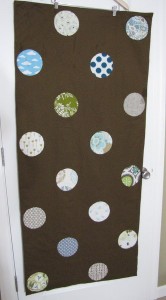
It’s done!
I finished sewing all the circles on the other night, and I decided to just trim down the edges to handle the hole problem. That worked well. So I sewed and trimmed all the circles, then tonight I finished it.
I used a dark brown solid for the background, and I sewed in some loops out of bias tape to hang the quilt on the wall. I decided not to do a quilt sandwich and sew on binding. I just put it together like the baby blankets, by putting all the wrong sides together, pinning it, squaring it up, and sewing it together leaving a gap to turn it inside out. I turned it inside out, pushed out the corners, sewed the gap closed, and ironed it.
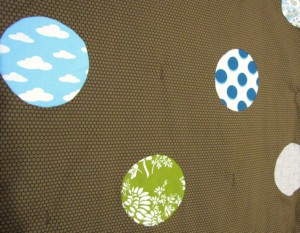
I also decided to not to quilt all over because I really like the circles as they are. So I also finished this like the baby blankets, using a take on a tie quilt to bind the 3 layers together. I used brown thread so it wouldn’t be too overt, leaving the circle design to really stand on its own.
Here are some photos.
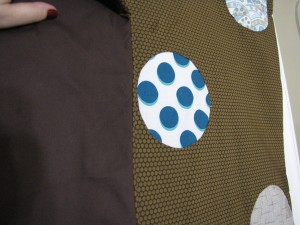
Back of the quilt top. The wet spots are from the ironing process.
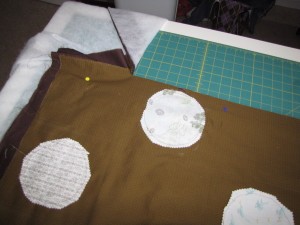
Cutting the background fabric just a little bigger than the top.
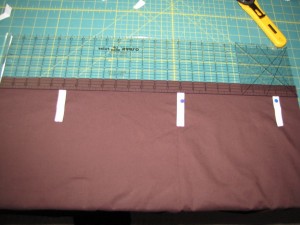
Pinning on bias tape loops with tape I still have leftover from The Great Apron Fiasco 2006.
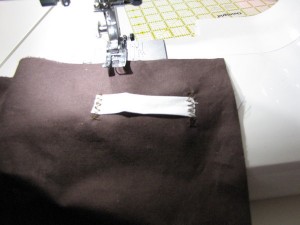
Sewing on the loops. I did a really basic job of sewing these on, and I attached them to the backing fabric before putting the whole thing together. This quilt is really light, and I think we’ll end up just hanging it with a dowel.
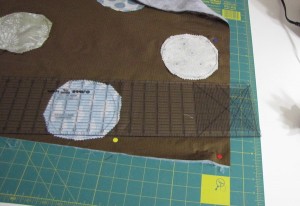
Squaring up the Circle Quilt.
Getting it ready to sew.
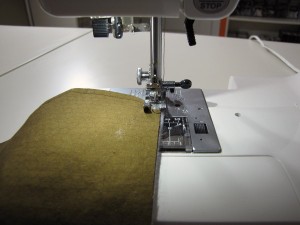
Sewing the circle quilt together, wrong sides together.
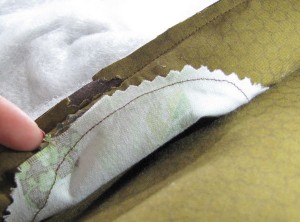
I don’t know if you can see it, but this is where the hole was. I trimmed down that edge and then sewed the seam so it went around the hole, leaving the hole invisible from the front. It worked.
Here’s the whole thing sewn together, before the quilting stitches.
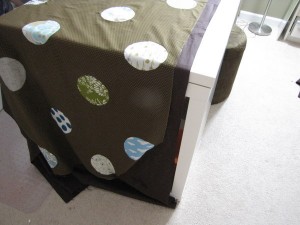
Front and back of the quilt.
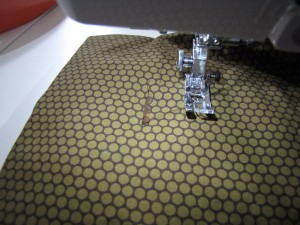
This is the stitch I used to quilt the 3 layers together.
Now we just have to hang it up in the dining room. And I can move on to my next project!
