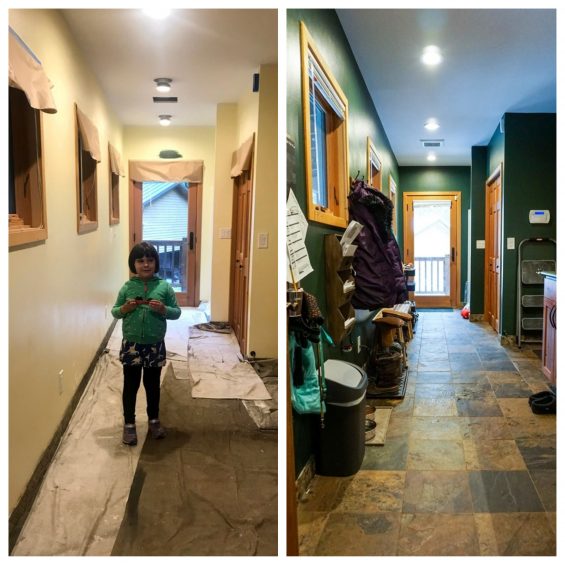
A mudroom! This space is one of my favorite places in our farmhouse. I’ve always wanted a mudroom. I grew up in a small apartment and never lived in a house until we bought the one in NJ that we left last year. Years of looking at design magazines, and my year as an interior design student in college, just left me with this picture in my head of what domestic living should look like. And one of those pictures is having a happy, functional space for the mess of everyday life. Not to hide it away, but to give it its own room to kind of revel in the mess of family life, without destroying the rest of the house. This is also the height of privilege, having an entire room in a home that’s basically for dirty shoes, but as a kid with limited privacy and space it’s just something I dreamed of. And here’s the before and after for ours.
It took a while, it always takes a while. I didn’t go overboard this year, and if I’d planned better I would’ve put up more decorations. Unlike Christmas, which I start thinking about in July, I just don’t think about Halloween until October 1st. And then it takes me a couple of weeks to get it together, maybe next year I’ll get on top of it.
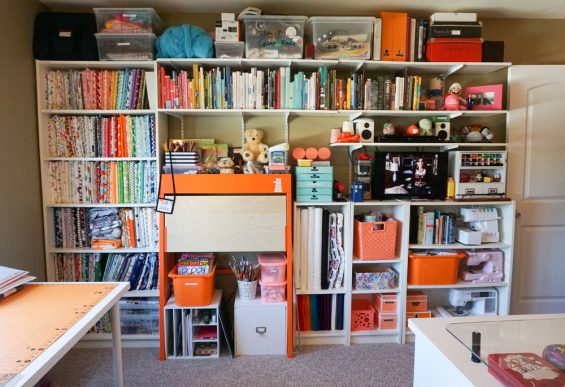
When the new year rolled around I got my usual urge to reorganize, but this year I really, really reorganized. We replaced the 9-year-old bedroom carpet in my studio with some office carpet that wears well, I completely moved furniture around, and I threw out…quite a lot. I wanted the space to feel more open, and even though I have a LOT of craft supplies…I wanted it to feel as contained as possible.
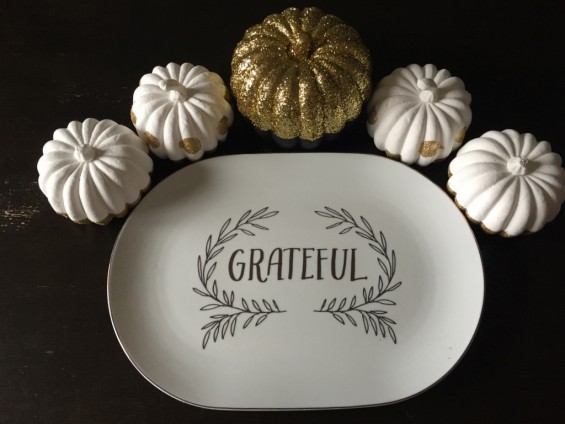
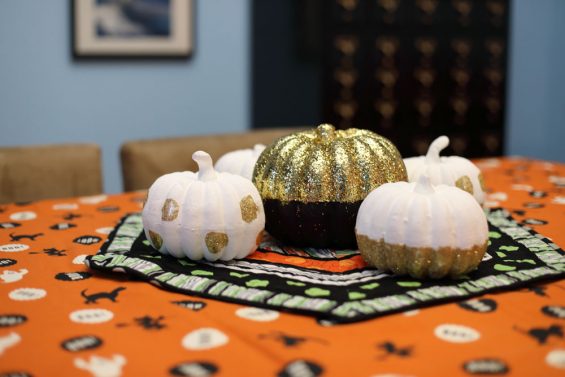
I made these disco pumpkins as a centerpiece for our dining room table to celebrate Thanksgiving. I bought that platter at Target when the fall stuff first came out, and I love it. And, I thought it needed something with gold sparkles to sit with it. I made this video so you can have disco pumpkins, too!
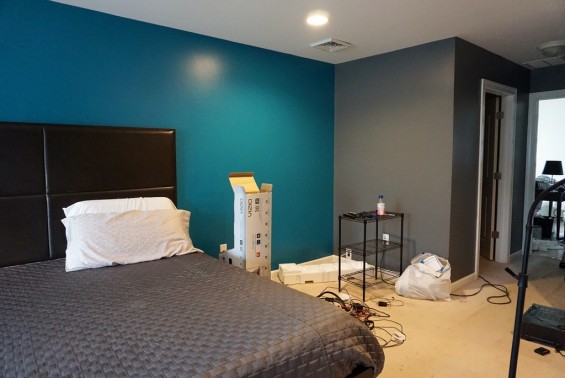
It’s still a work in progress, so I don’t have any final reveals yet. We’re getting new carpet installed sometime (hopefully) in the next week, and I’m still working on our new bed quilt. I’ve been on hiatus from that one, but I’ve gotten back to it this week.