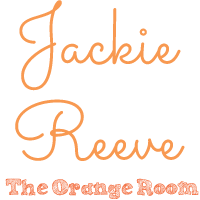
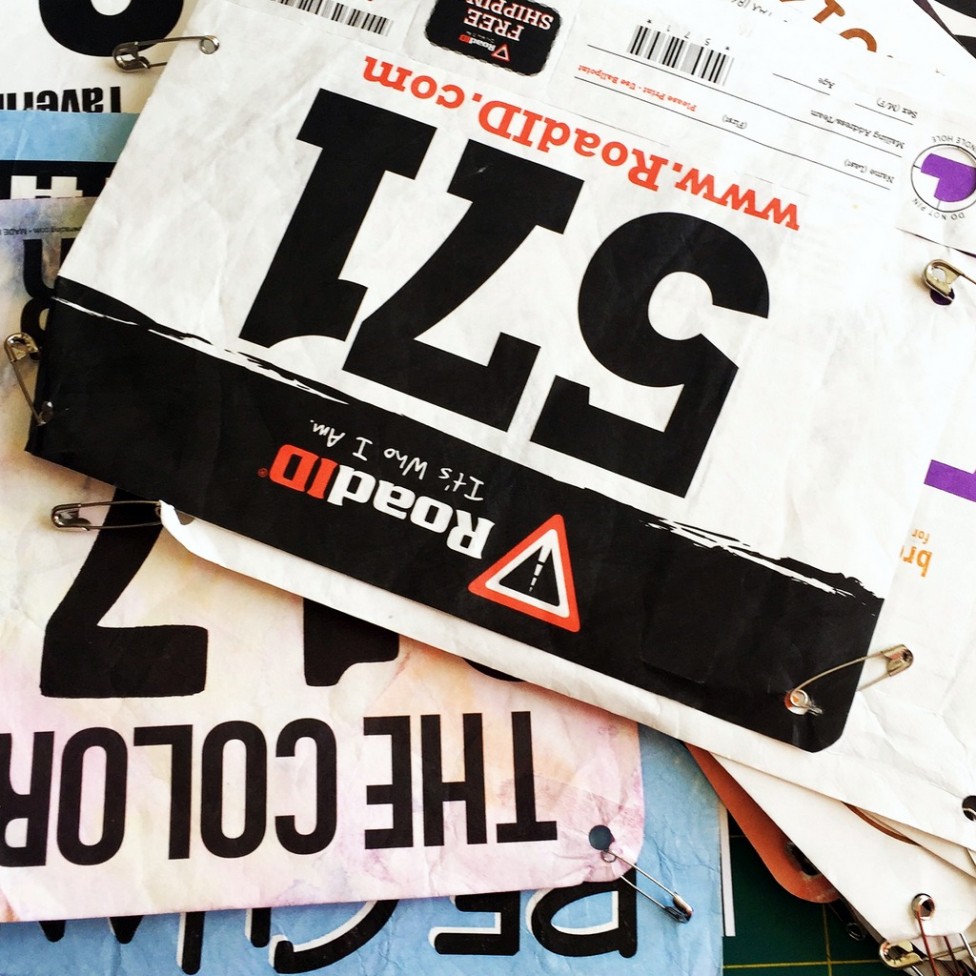
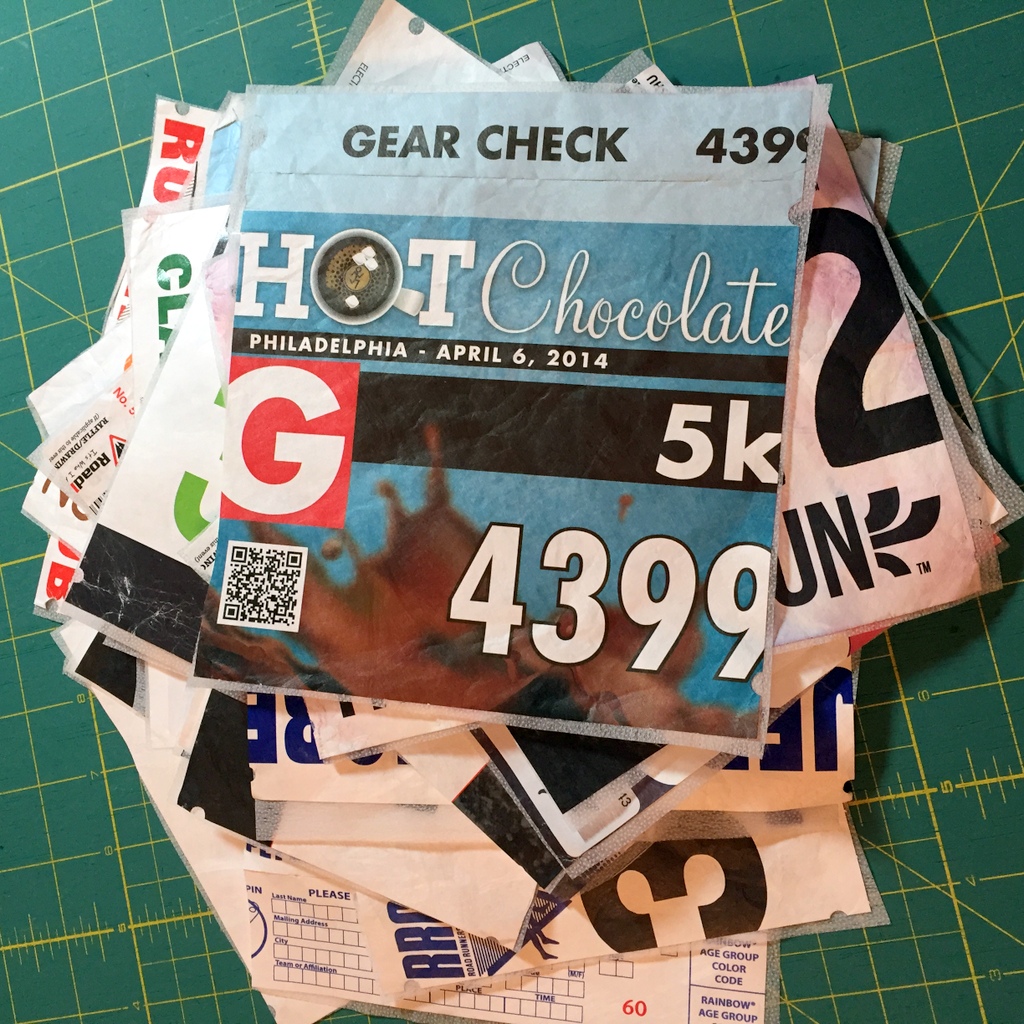
I’ve been working on a commission for a wall hanging made from Tyvek race bibs. I’ve never worked with Tyvek before, so this was a challenge that took a bit of research first.
I read a lot of mixed opinions about how well you can sew with Tyvek. Some quilts I’d seen out of race bibs appliquéd the bibs onto jersey fabric and then stitched the jersey fabrics together. Some said it would definitely tear, others said you had to use a zigzag stitch., or that it would melt if you tried to attach interfacing to it or iron it.
So I ended up using a Tyvek USPS priority mail envelope I had on hand to experiment, and it seemed like a straight stitch held just fine. So did interfacing, if it was ironed on low heat to the back. The only trouble I ran into was trying to iron the ink side of the envelopes.
First I had to take out all of the safety pins and trim up the bibs so the safety pin holes were cut away. I lost some of the text this way, but I thought holes all over the quilt would look odd. I trimmed them as closely as I could, getting the holes inside the 1/4″ seam allowance I planned on using rather than cutting them away entirely.
Because of the that, it was impossible to make these a uniform size without cutting away even more. I had a glorious stack of odd sizes.
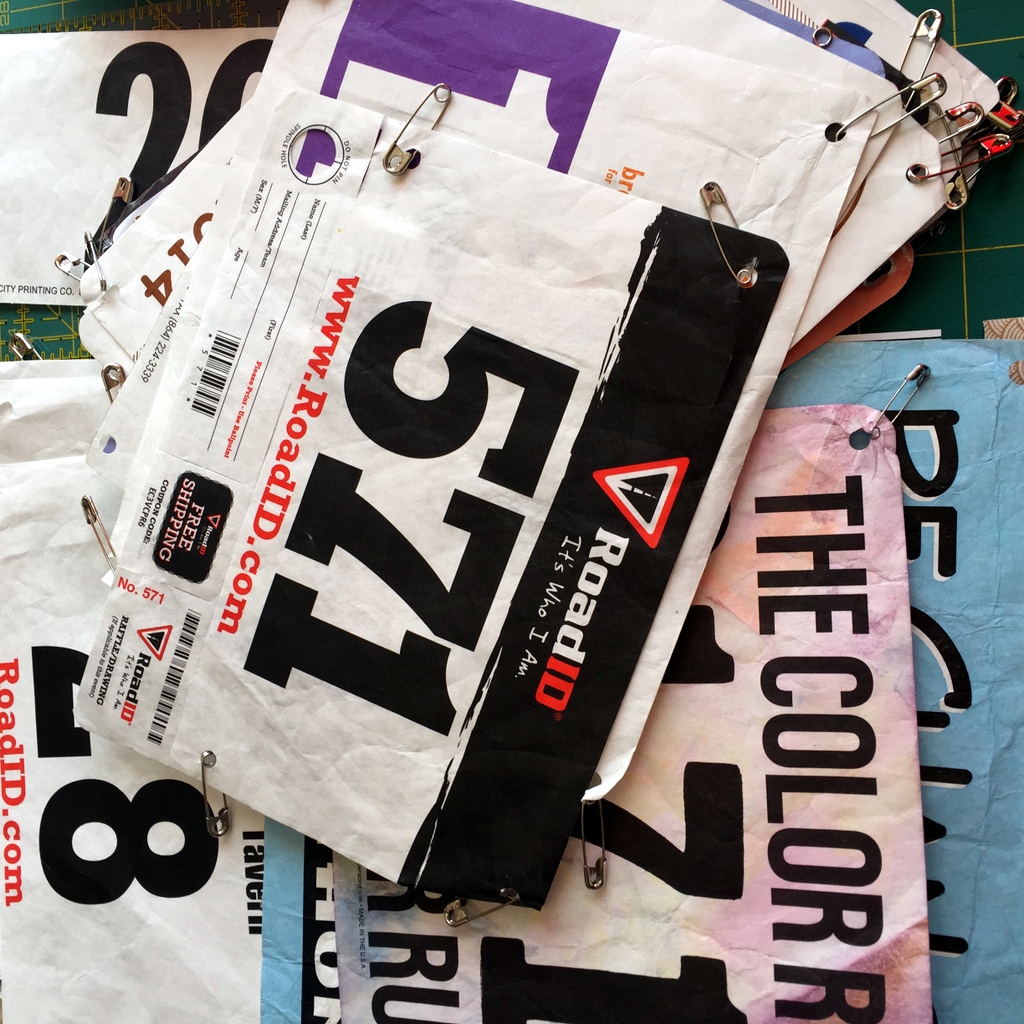
I (very carefully!) ironed fusible interfacing to the back of all the race bibs to try and give it a little more stability and help them resist tearing. This also let me lightly press the bibs.
Once I had the bibs prepped, I cut 2.5″ strips of candy pink Kona fabric (pink by client request!) to use as sashing between them. This wall hanging is a very simple design, straight windows with the pink sashing. Since I can’t really iron this project very much, I didn’t want to add complicated seams or anything else that wouldn’t lay flat and smooth.
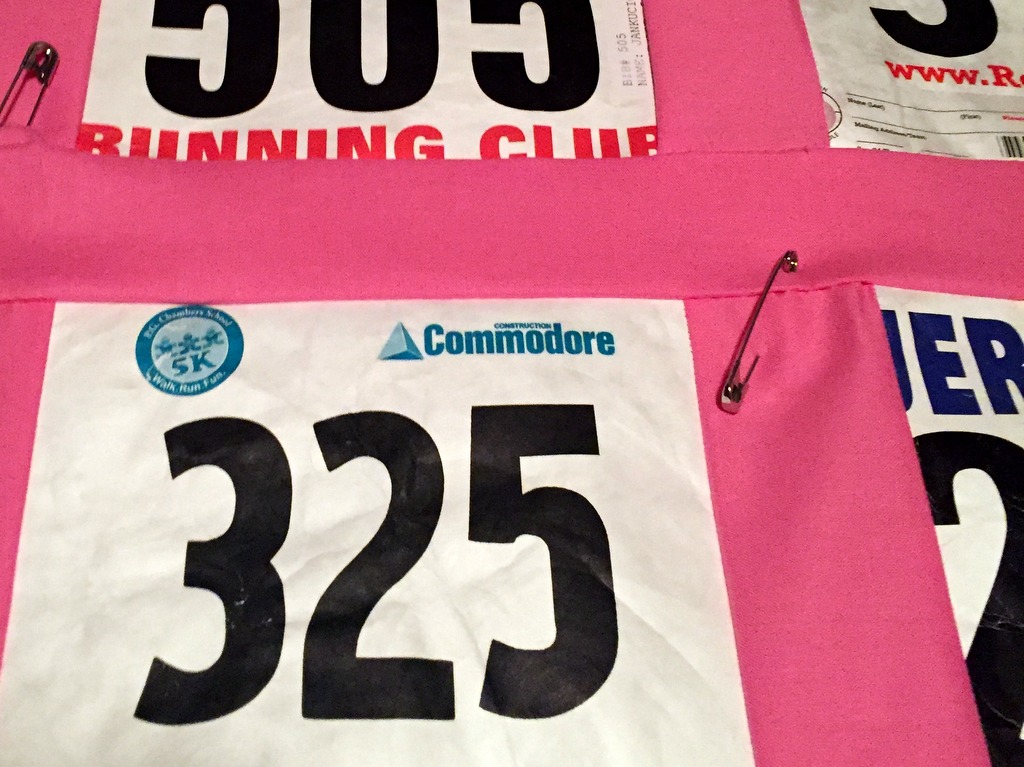
This worked surprisingly well! The Tyvek is much tougher than I thought it would be from what I read online…meaning it’s really holding on to those seams. It’s not perforating and tearing at all.
Getting the seams to lay flat with low heat and minimal ironing is definitely a challenge, but I’ve got the top all pieced, the backing made, and the whole thing pin basted (I like pin basting). I’m only going to quilt on the pink, and the first step of quilting is going to be basically topstitching around all of the patches. Those 1/4″ seams are stiff and not terrible flat, so to help this lay smooth I’m going to sew those seams down all over. Then, I may go back in and do some straight lines throughout the pink.
It’s definitely coming along, I’m happy with how the Tyvek has help up so far. This won’t really be a quilt you can wash, but I think it will look cool when it’s all finished.
I lightly ironed a Tyvek running number once but sadly I wasn’t careful enough and it scrunched up slightly. Any idea of how you can “iron out” a scrunched up running number when you’ve carelessly ironed it please? Soak in something maybe?