
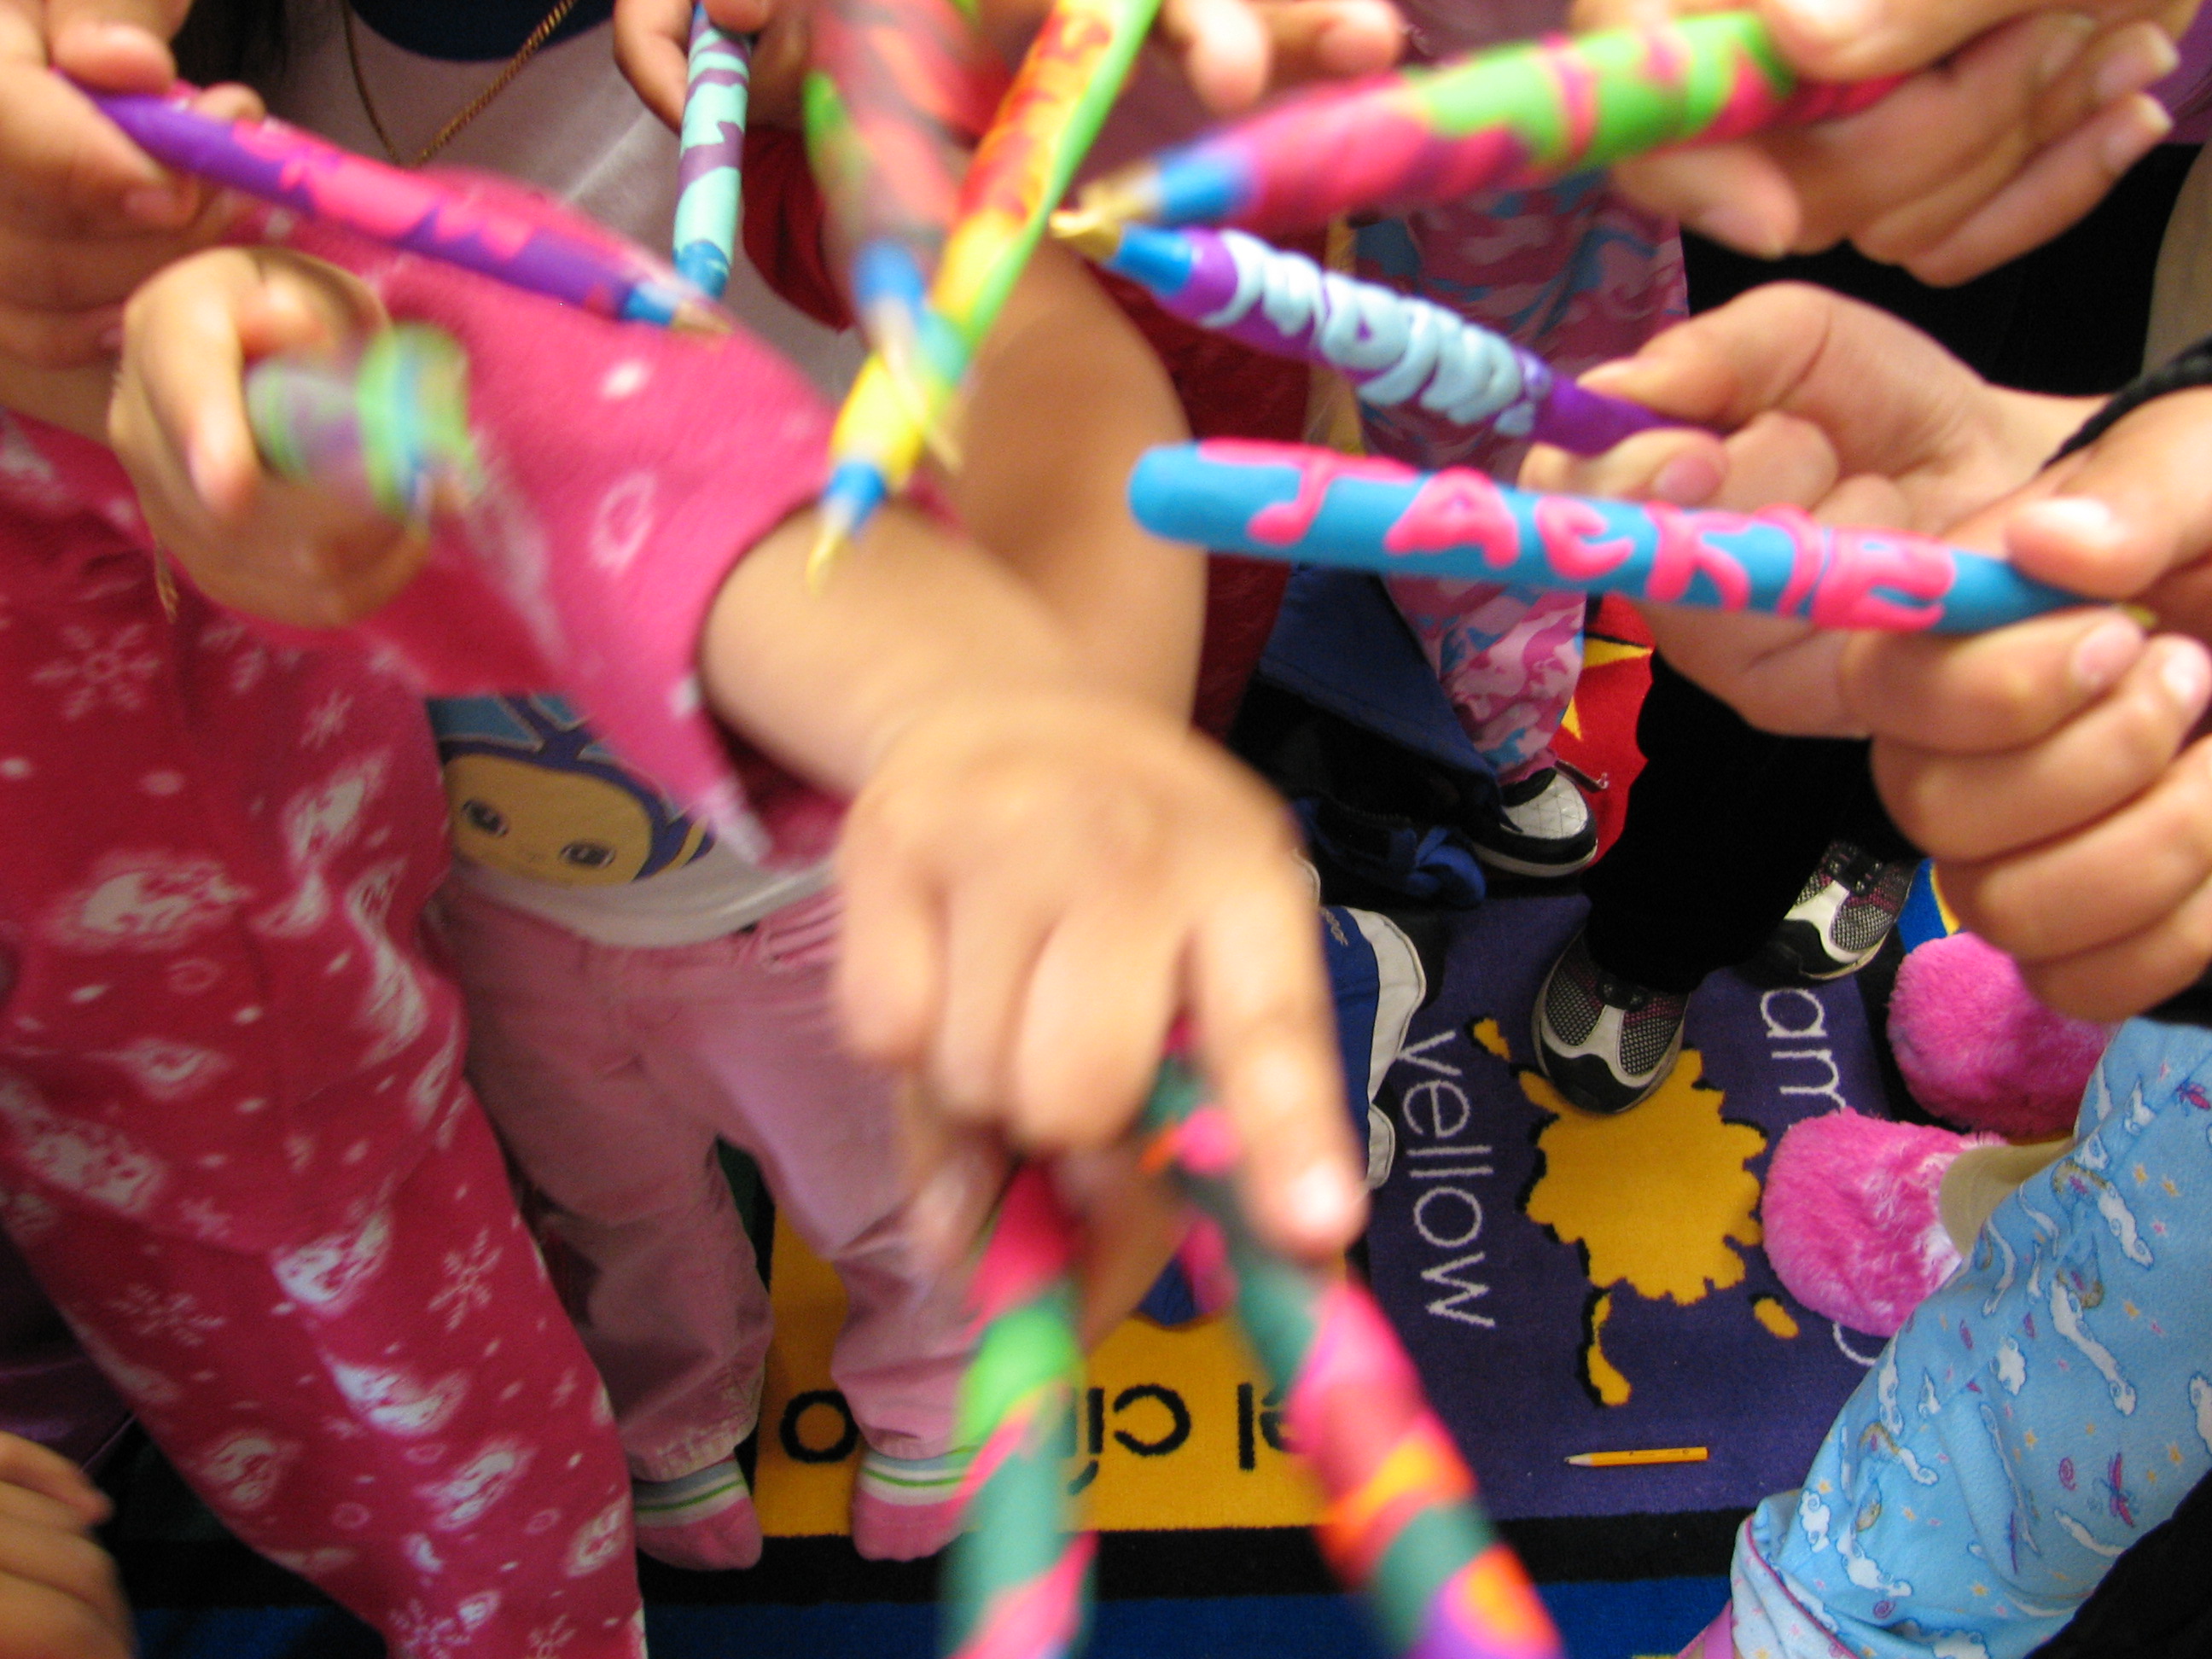

Making these colorful pens is pretty easy, and I’ve done this craft with groups of various ages. I first made these pens as an RA in college when my boss had us make them in a staff meeting. I’ve been stealing this super fun idea ever since. You’ll need pens, various colors of Sculpey clay, pliers, baking sheets, something to cut the clay, and an oven.
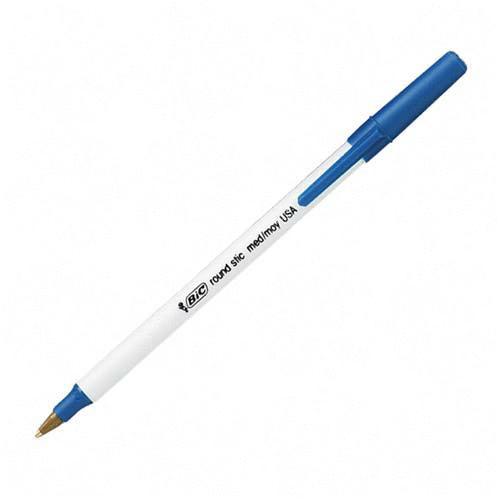
The only pens recommended for this project are the classic white Bic Stic pens. They won’t melt in the oven, and I wouldn’t try this with any other kind of pen.
The first thing you’ll need to do is take the pliers and pull the ink tube out of the front of the pen. These can’t go in the oven with the ink still inside.
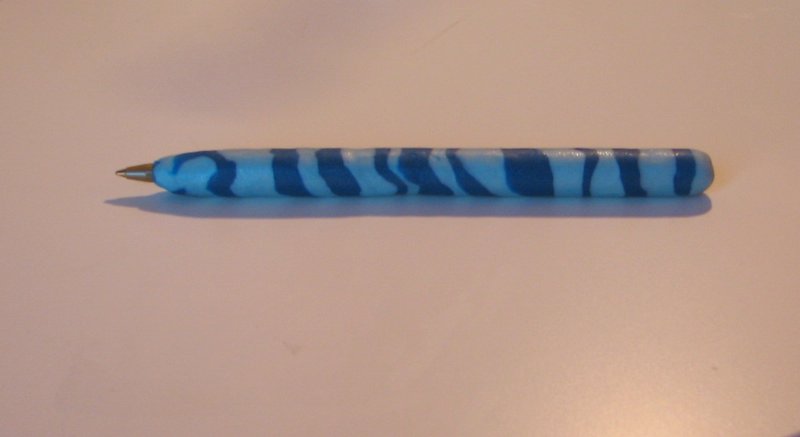
Knead the clay until it’s pretty soft and workable, then use it to cover your pen in whatever design you want. Don’t make the clay too thick, or the pens won’t bake properly.
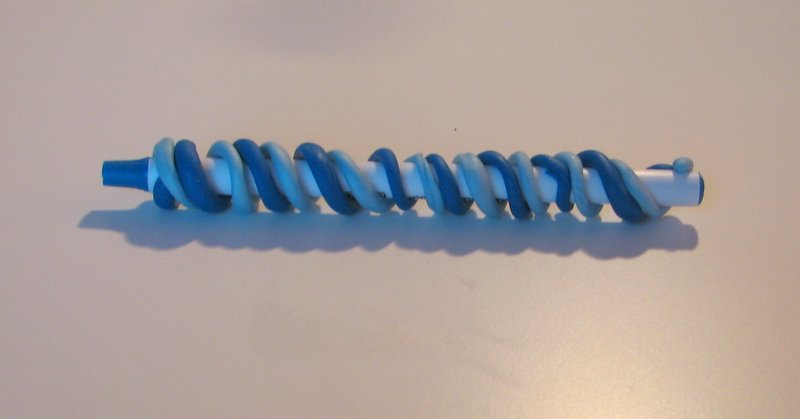
The easiest way to smooth down the clay is to roll the pens across a table until they’re nice and even and no sign of the pen is showing. You want it completely covered and smooth.

When you have the pen design you want, it’s time to bake them. This permanently hardens the clay.
Follow the directions that come with the clay. I used Original Sculpey and preheated the oven to 275?F. I baked the pens on an ungreased foil cookie sheet (or use a cookie sheet covered with foil) for exactly 15 minutes. Be really careful not to overbake them.
Take the pens out and let them cool completely. Then put the inkwells back in. Now you’ve got your own snazzy pen, like me and the girls.
Hi! Do you know if the “new” bic round stic pens work in the oven? Those white ones are actually called “vintage” now!?! I’d love to do this project with my daughter’s class, but I would feel horrible if the new ones melt. Thanks!