
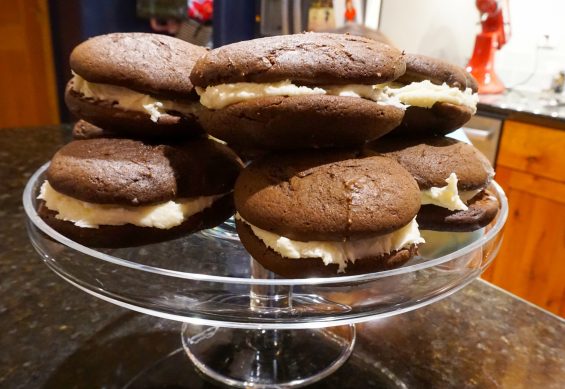
Whoopie pies are just the best, and they’re easy to make at home with kids. Whoopie pies, we’ve learned, just aren’t really a thing in Washington. And they’re H’s favorite treat, and something she’s been missing from NJ (Whole Foods made really good ones back east, but all the baked goods at Whole Foods here in WA are too…healthy). So, I’ve started making them. The Christmas batch was such a hit that she wanted to help me make some more this past weekend. Sunday night while my beef roast cooked we made them for dessert.
Tag: baking

It’s here! Trick or Treat Day came and went. I was so in the weeds with this Belle costume, which H asked for back in July, and I ended up sewing the whole thing on Friday night. I stayed up all night, it took 11 straight hours of sewing, I binged all 9 episodes of Stranger Things 2 while I did it. But she is so excited, and I love how this gown turned out.

Today’s the day! HFR is 5 years old today. I’m going to get the typical parent cliche out of the way here first by announcing I can’t believe she’s five, it feels like just yesterday when she was born, where does the time go, etc. These are all true statements that run through my head on a regular basis, and at every birthday she’s ever had.
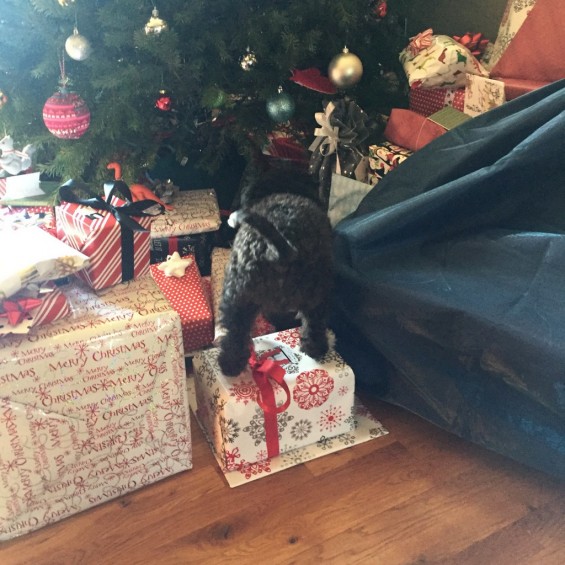
I’ve been on a break from blogging for a couple of weeks while I got ready for the holidays. And they’ve arrived! They came, they saw, they spread festive cheer all over the house! My in-laws just left this morning, and I’m looking around the house figuring out where we’re going to put everything.
Memorial Day Weekend. We didn’t get to the beach, but we did cook out on Monday. We had some family over for sausage and peppers, corn on the cob, tomato salad. And I still had some sweet cherries in the freezer from last summer, so I made the first official pie of the summer season. Delicious.