
I started this quilt back in April to get ready for the newest season of Doctor Who, and then life happened and I put aside the finished quilt top for a couple of months. Then when the 13th Doctor was announced, I got inspired to pick it up again. I finished it over the weekend, and here’s a loose tutorial so you can make this one, too!
I used Kona white for the sashing, and all but one of the prints came from Jo-Ann. The remaining print is from Spoonflower, by plumcuckoo.
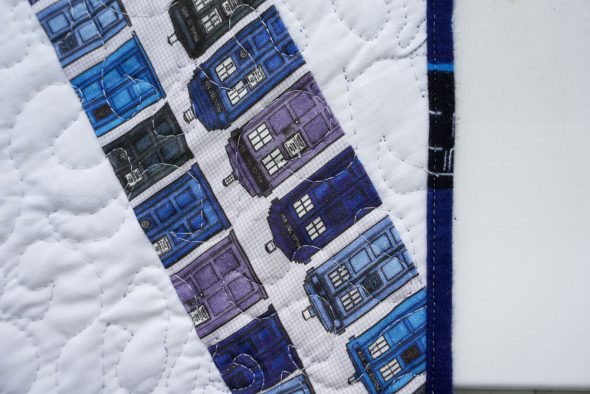
She’s updated it since I bought this one several years ago, but similar prints are still in her shop. Some are more available than others these days, I’ve had these prints since I first heard they were available.
(And that binding is flannel).
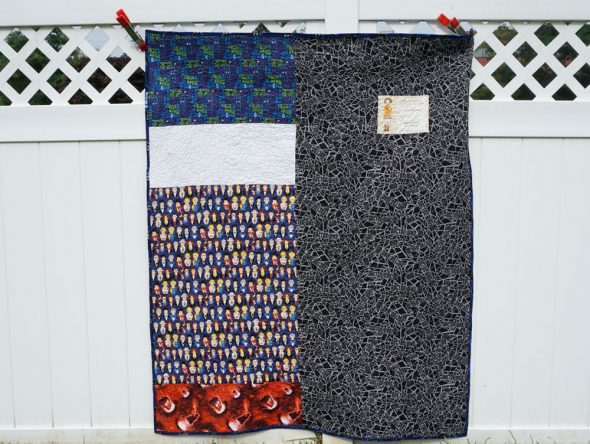
The backing is improvised piecing, but I liked the idea that it kind of vaguely referenced the TARDIS.
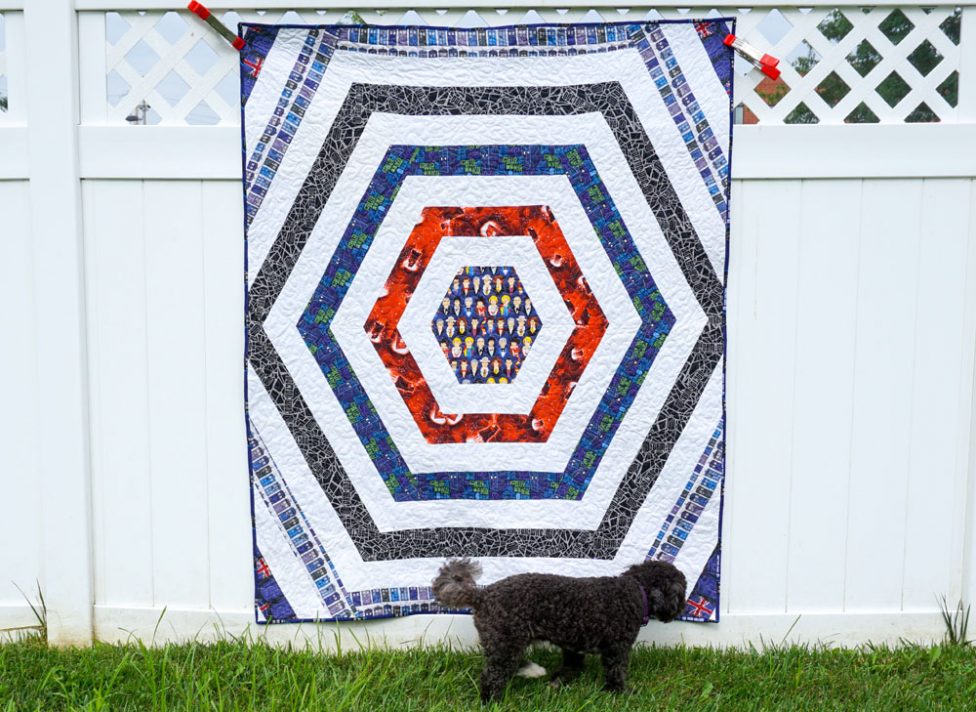
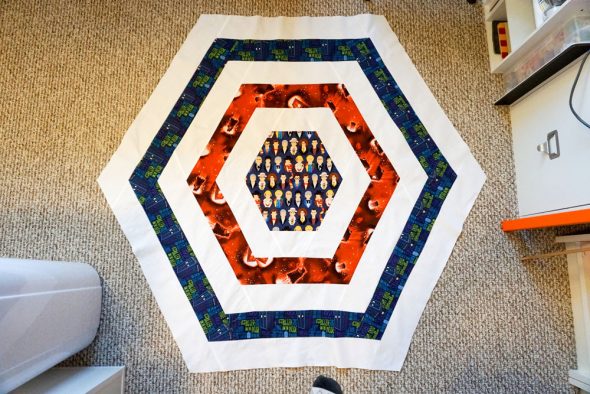
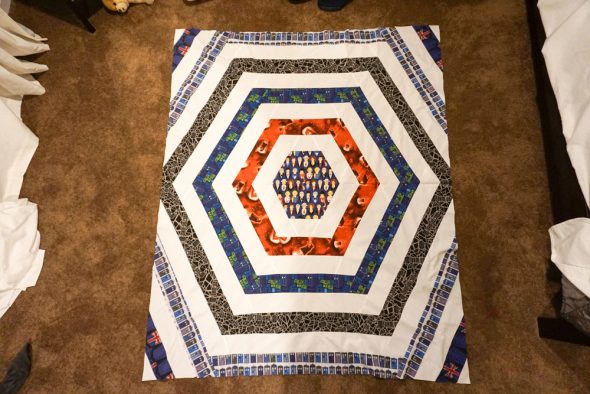
And to me, the top of this quilt reminds me of the opening credits for the show.
 So, details and things you’ll need:
To make this lap quilt (it’s 50″ wide by 60″ long when finished), you’ll need:
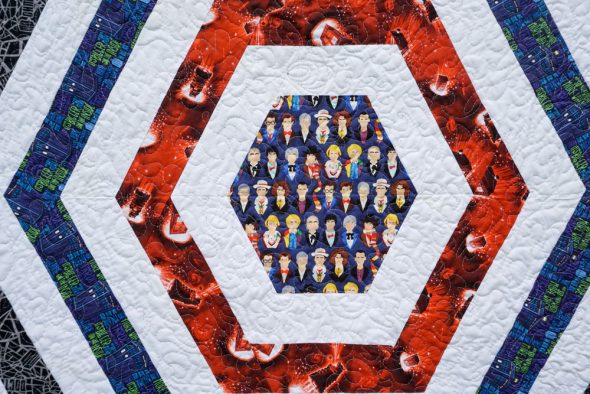
- A fat quarter of the center print
- 2 yards of white
- 1/2 yard to 3/4 of each print, depending on where it is in the design (half yard are probably good for anything except the black ring of print, which took a little more)
- 1/2 yard of flannel for the binding
Note on yardage: I used 1 yard of every single print, and I pieced the back out of scraps from almost everything I had left over from the top. I used almost all of it, except for a bit of flannel and a bit of the center print.
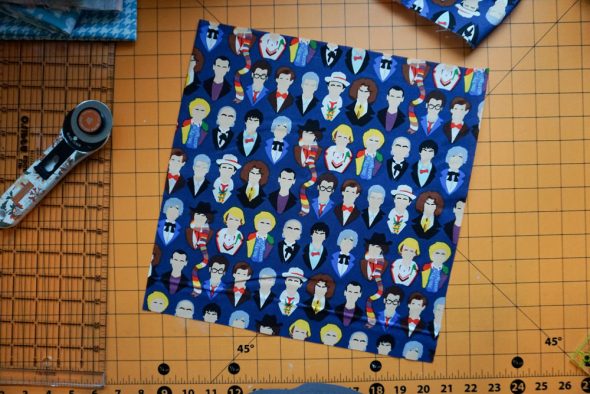
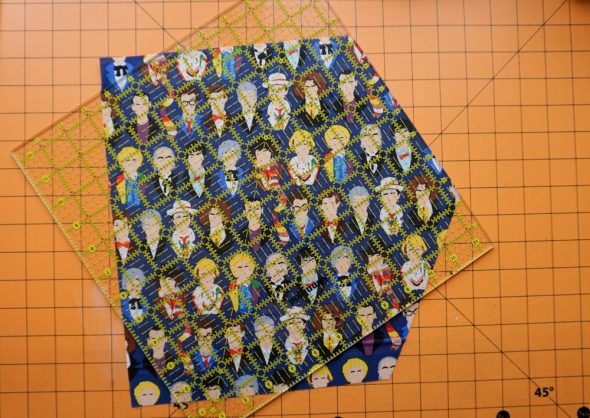
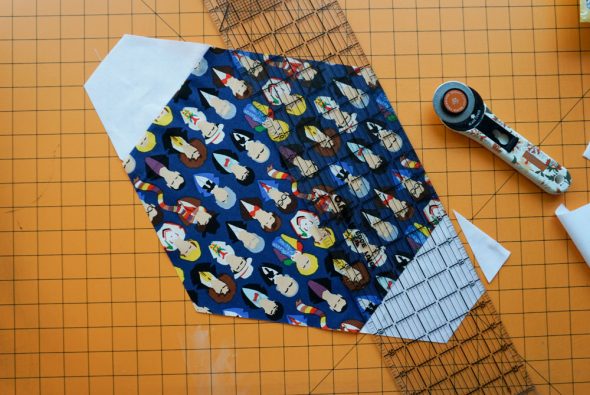
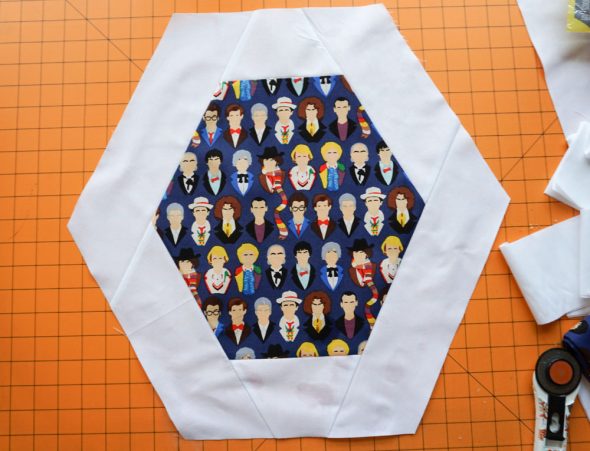
I started with a 12.5″ square of the center fabric.
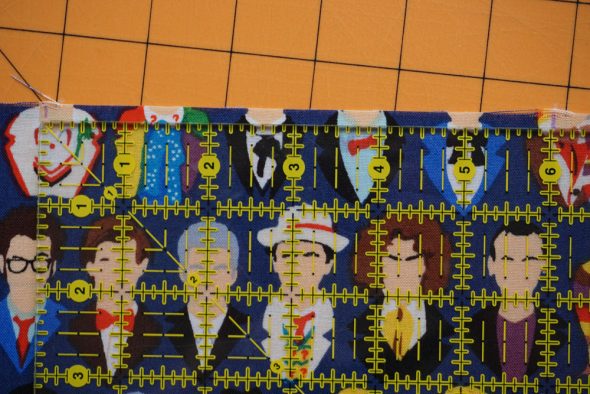
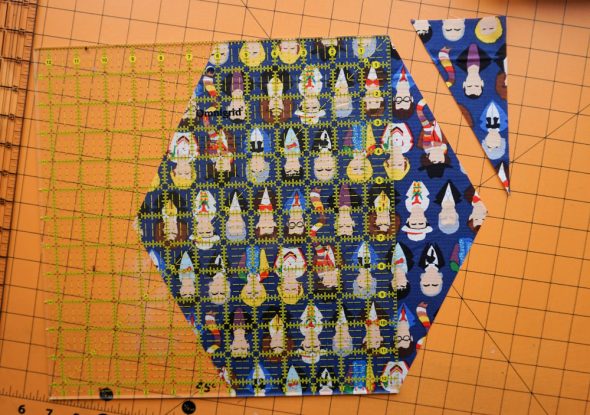
Along the top and bottom edges of the fabric, I measured in 3.25″ from each side and marked it.
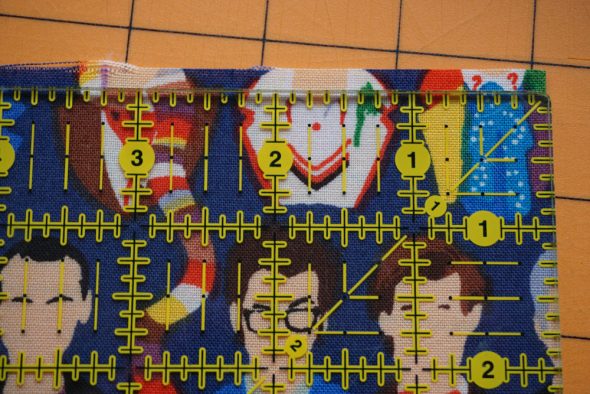
That should leave you with a center section on the top and bottom that’s 6″ wide.
Then on the let and right sides, I found the middle point at 6.25″ and marked that.
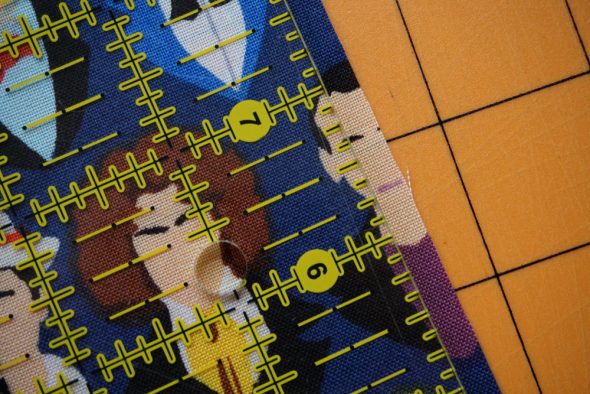
So then, I cut from the center point on each side to the 3.25″ point to make the square into a heptagon.
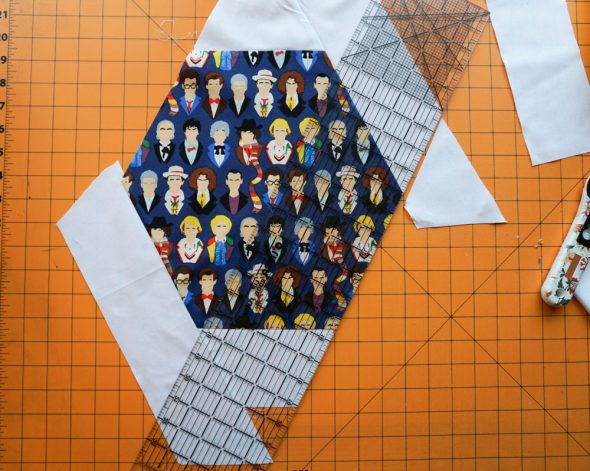
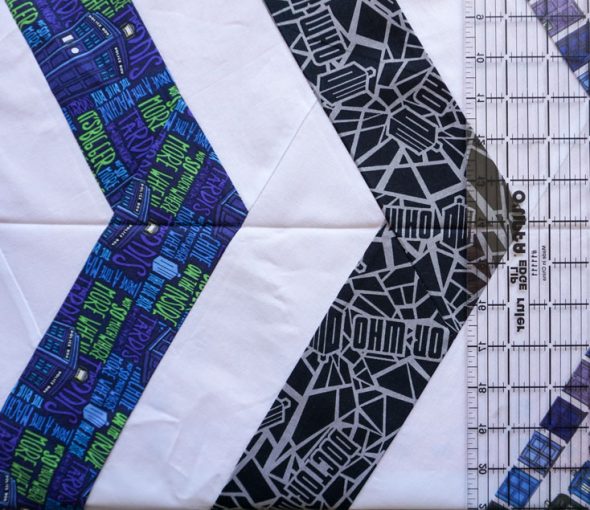
After that, every strip of white and print that I used to build out the quilt is 3.5″ wide.
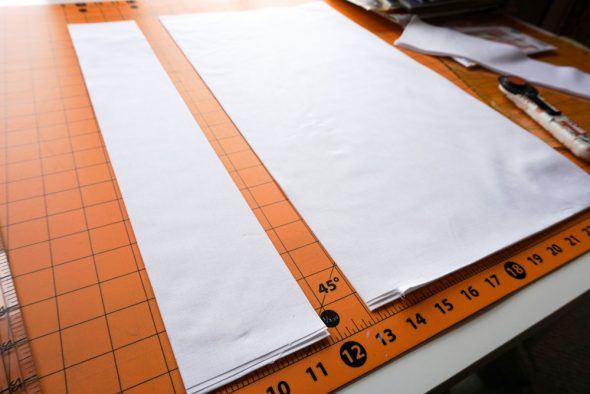
I cut width of fabric strips of each fabric and started piecing around this central heptagon, pressing and trimming as I want.
First I pieced white strips:
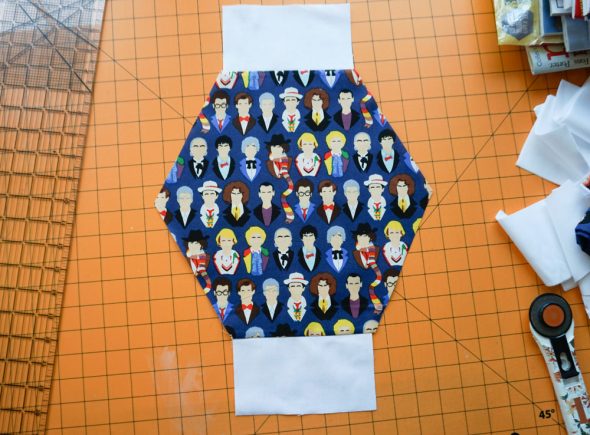
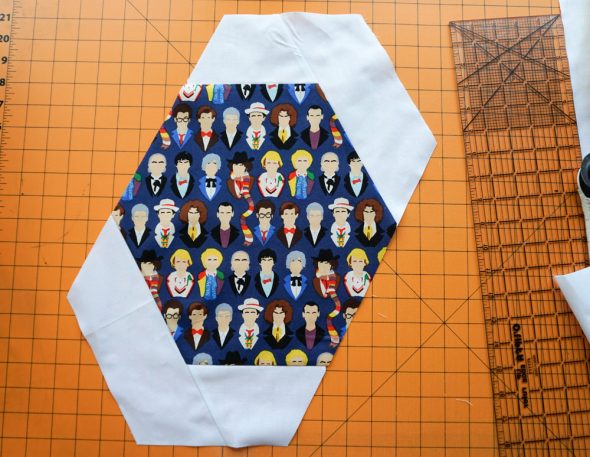
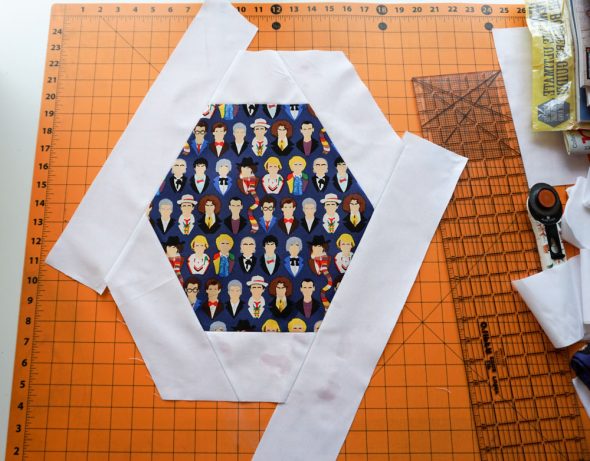
And then I repeated this step, alternating print and white strips, to build out the quilt.
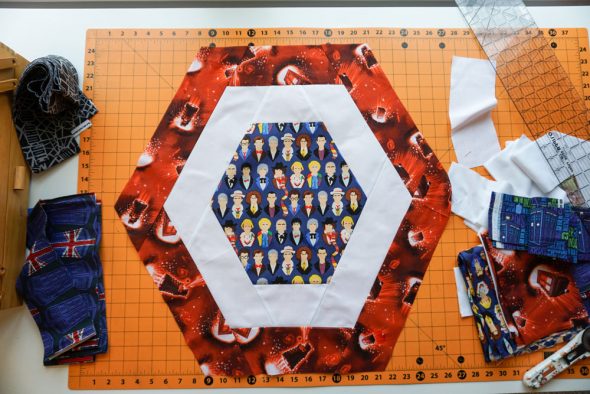
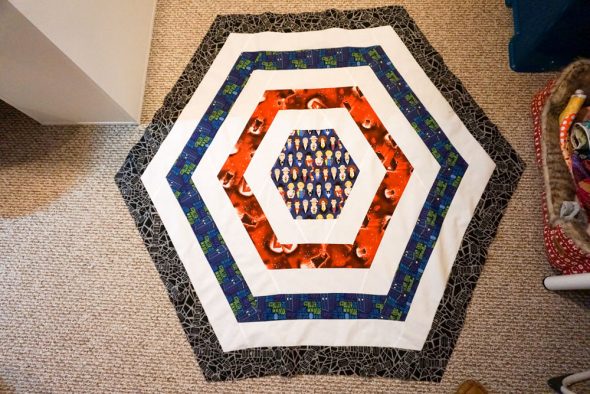
Now, after this fourth print, it was time to focus on squaring this top up into a rectangle. This is where, honestly, I was improvising a bit (and didn’t take quite enough photos).
This quilt is 50″ wide when it’s finished, and at this stage, from the side center tip of the black print, left to right, it’s 53.5″. You will trim off 1.5″ from that black print’s point on both sides once you’ve finished adding to the four corners. But for now, we keep adding.
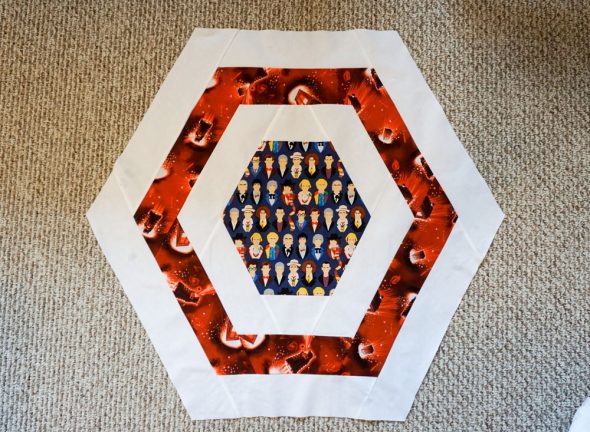
For the next layer, I actually just went all around the quilt top again with the white strips. I didn’t want to square this up until all of the top’s layers were done because I was afraid I’d have to keep trimming, and I’d lose more width. And because this was the next layer out from where I wanted to cut off the sides of this top, the pieces would’ve overlapped anyway. So I just assembled it exactly as I did the other rings.

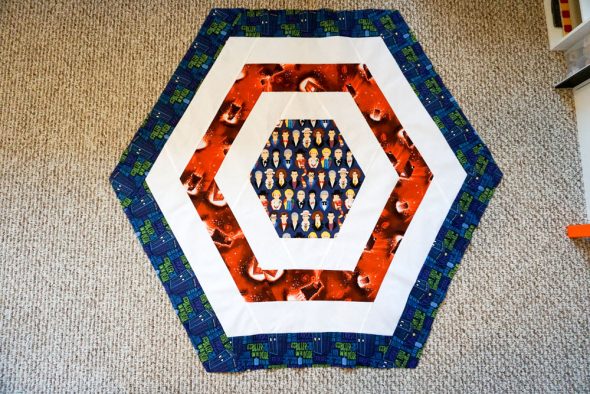
Then when that layer was done, I went back in with another print layer (that blue and white TARDIS print from Spoonflower), top, bottom, and corners (I didn’t measure the corner strips, just made them long enough that I’d have plenty of room to trim them down when it was time to square up).
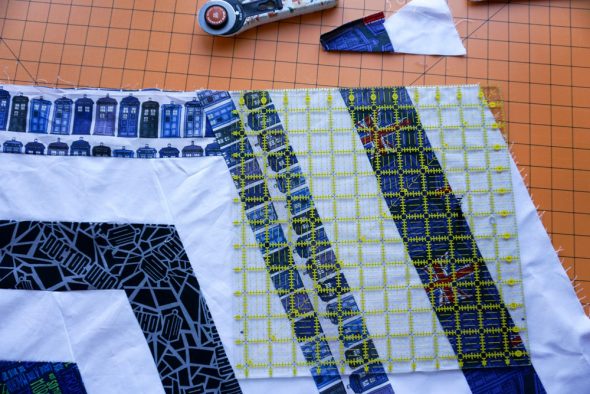
Then a white layer just on the corners, another tiny bit of a print layer just on the corners, and one more round of white just on the corners. Most of that last white layer gets trimmed away, but I still used 3.5″ strips of everything. Below you can see how the corners looked after I started squaring them up. The Spoonflower print caps the bottom and top of the quilt. But after that black print every layer gets cut off on the sides of the quilt.

Once I’d added those final layers to the corners, giving this top a center print and then 11 rings in total (including the clipped corners), I began squaring up the entire quilt top by trimming down the top and the bottom of the quilt.
When those were even, I folded the quilt in half vertically and ironed a strong crease right across the center of the quilt, from side tip to tip.
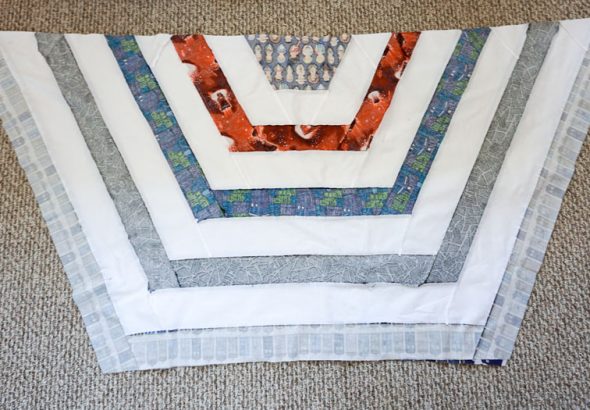
Then I used that crease to line up my ruler, measure 1.5″ in from the tip of the black layer on each side and mark it as the side edge to square up. The width of the quilt finished is 50″, and like I mentioned earlier I wanted to take 1.5″ off of the black prints from the corners in. I wanted the top to be 50.5″ wide after this trim to allow for the seam allowance in the binding.
Then I just went around and squared up the top from there.
I used the leftover yardage from those prints (and some of the white) to piece the back.
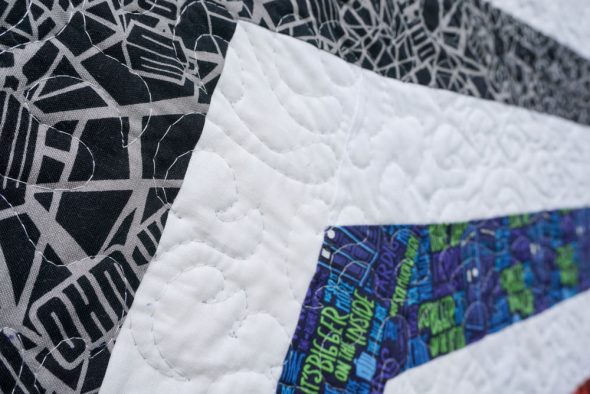
Then I sandwiched it, pinned it, quilted it, and finished off the binding with a flannel Who print I had from Jo-Ann.
And that’s my Doctor Who print, which just reminds me of all of the opening credit sequences. Watch this video of all of them if you really want to be hypnotized.
Leave A Comment